


In recent years there has been a strong interest in revitalising old game consoles. However, this trend stopped short of bringing back the classic handhelds. The 1989 Gameboy was my childhood console and I took it upon myself to breathe new life into its design.
In this project, I disassembled and studied the inner workings of the Gameboy in order to redesign the plastic shell while keeping the core components the same.
Gameboy Redesign | University Project | 2020
Context
This was a university project with the goal of teaching the principles of injection moulding. The project was to take an existing product and redesign its plastic parts such that it would fit in with modern stylings. The project operated in stages. Firstly, the product was to be disassembled and studied. Then a design was to be made. This design was then analysed for manufacturability. Finally, a prototype would be made to prove its viability.
Tools Used


The Design

The size of the original Gameboy was its biggest charm and limitation. It’s bulky form remind us of a time when electronics were simpler and less dense.
The electronics determined the minimum size of the Gameboy, so a smaller, sleeker form was not possible. Instead leaning into the size and making the Gameboy larger and more ergonomic played to its strengths and allowed for a more interesting design.


Design for Manufacture

Construction
The Gameboy was fairly simple in construction. The electronics consisted of two large PCBs which connected together via a ribbon cable. Two smaller PCBs were connected to the main ones via wires directly soldered to the boards. All the components aligned and connected mechanically mainly via screws or snap fits.


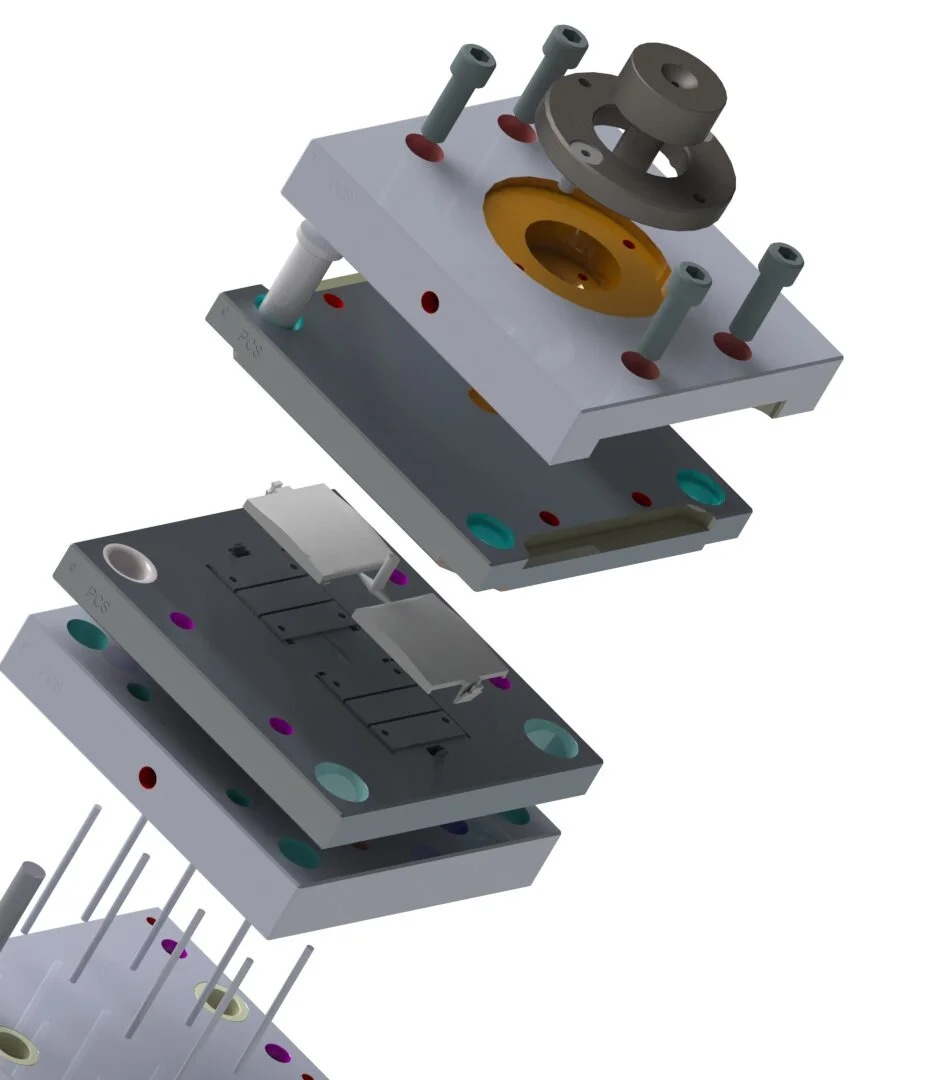
Injection Mould Design
Mould design was an iterative process. Using draft analysis and flow simulations it was possible to fine tune the design and predict issues in the moulding process. In the end all plastic components could be moulded using two-part moulds. The moulds were designed to fit standard injection moulding machines and so multiple parts were placed together in the mould to improve efficiency.


Prototype


The Process
The prototype was made via 3D printing. At every stage of the design process, a 3D print was made to check the viability of the design. Often these prints would reveal structural issues or potential challenges in assembly. Early in the process even the PCBs were 3D printed to check the dimensions of the CAD PCBs. The final prototype was spray painted to achieve the final look.


